In this post i will explain how easy it is to renew / add new AWS EC-2 instance key pair. So let’s start
Requirements:
You must be able to login to EC-2 instance from your PC terminal. This article is not for you in case you have lost your existing key-pair
Step No. 1 Creating new Key-pair
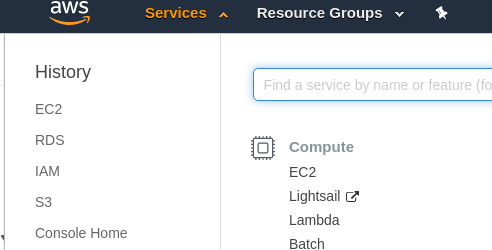
Login to your Amazon Console and Click on EC-2
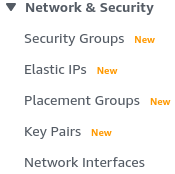
Once clicked, Scroll down and you will find Key-pairs under Network & Security Section as shown below
Click on Key Pairs and you will see a window similar to below. Give Name to your Key Pair and Click “Create Key Pair”
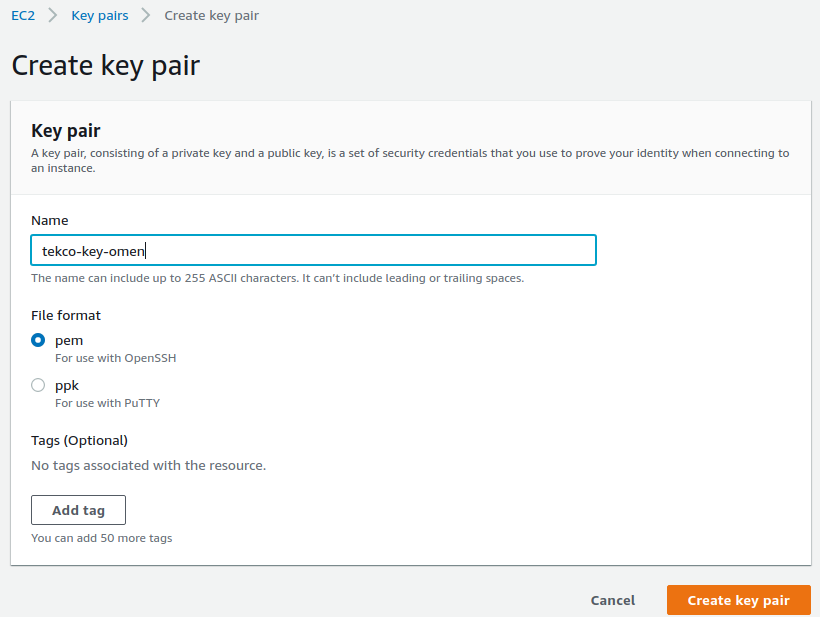
Once you click the Create Key Pair, it will Download to your system.

Change the permission of the key pair
salman@Red-Dragon:~/Pictures/AWS$ chmod 400 tekco-key-omen.pem
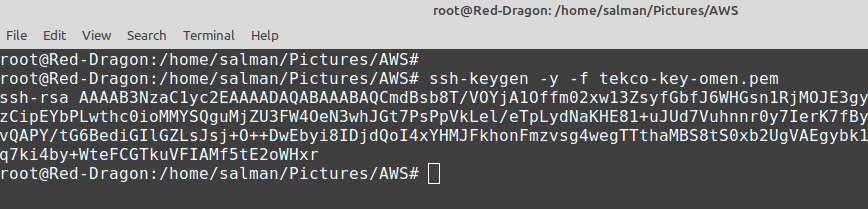
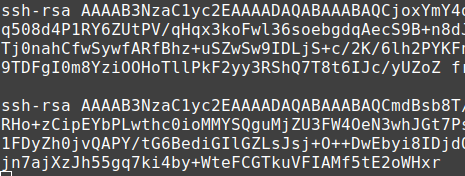
Now retrieve the public part from your Key-pair and copy it as shown below.
Now Connect with your EC-2 instance with your old key

Now edit the authorized_keys file as show below:

Paste the public key which you retrieved earlier in authorized_keys file as show below
Save and exit and Now from your PC connect the EC2 instance with your new Key-Pair
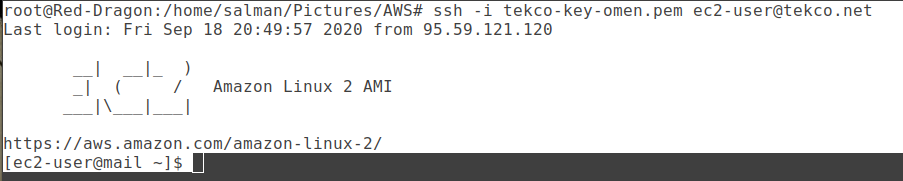
Perfect. We have successfully entered our EC-2 instance with our New Key-Pair. Once you are satisfied, you can delete the old key from authorized_keys and start using the new one.
Thank you.
Salman A. Francis
https://www.youtube.com/linuxking